
Shaping a hole for a set screw
This process uses LoopTools frequently. Please have that addon enabled.
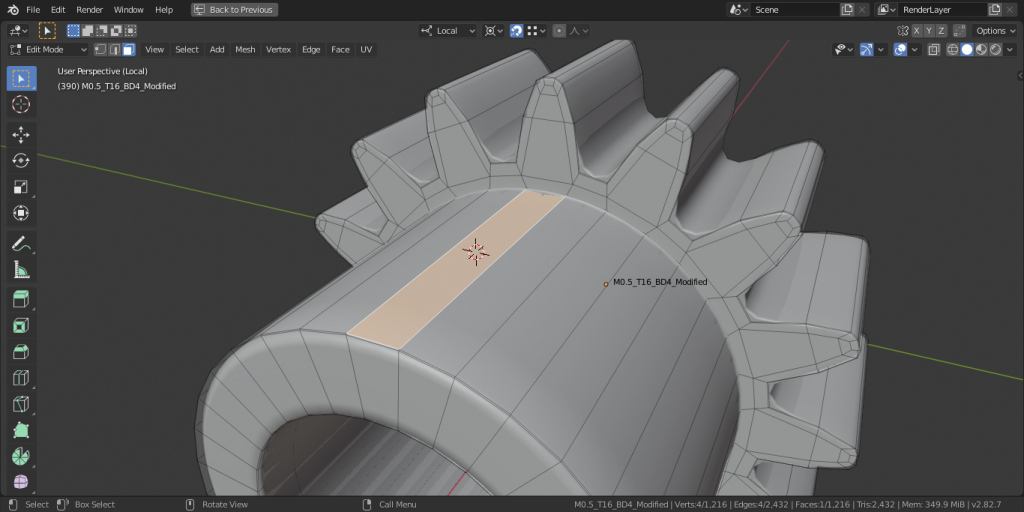
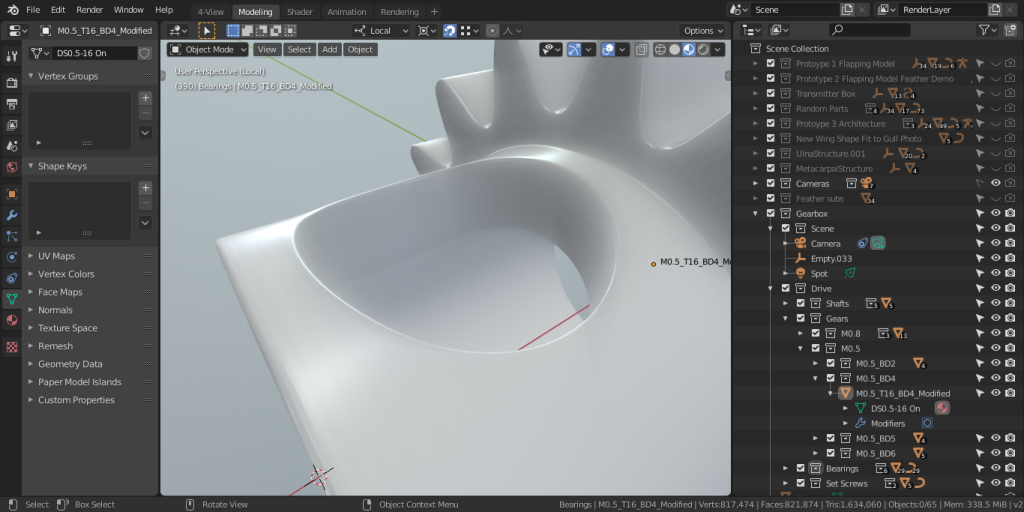
Begin by selecting the topmost face of the collar and set the 3D cursor at its center.
It will become apparent how important this first step is later.
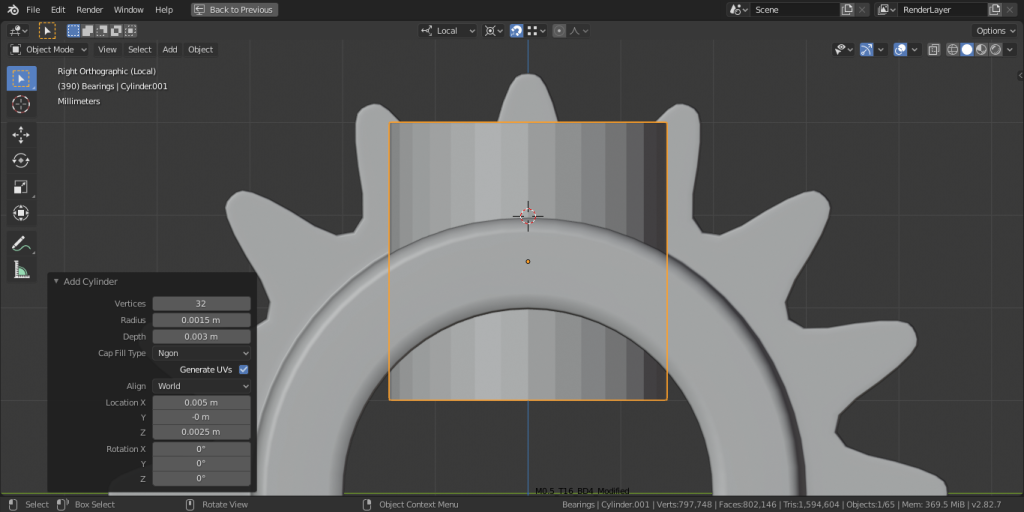
In object mode, spawn a cylinder with a radius of 1.5mm to account for the 3mm diameter set screw that will go there. I have picked a height of 3mm and made sure that the guide cylinder passes through both the top and bottom of the collar.
At any point change the guide cylinder’s visibility to wire-frame mode.

Observe how there are six groups of vertices on the top of the collar that overlap the guide cylinder, and eight groups on the bottom. To make the bridging process easier later, it is better to have the same number of groups on the top and bottom.

To remedy this, we can delete the inner circles and spawn new circles with fewer vertices. I used circle select to highlight and delete them, then edge-loop select on the outer circle. I set the 3D cursor to selection to center it on X-axis, but in line with the edge.
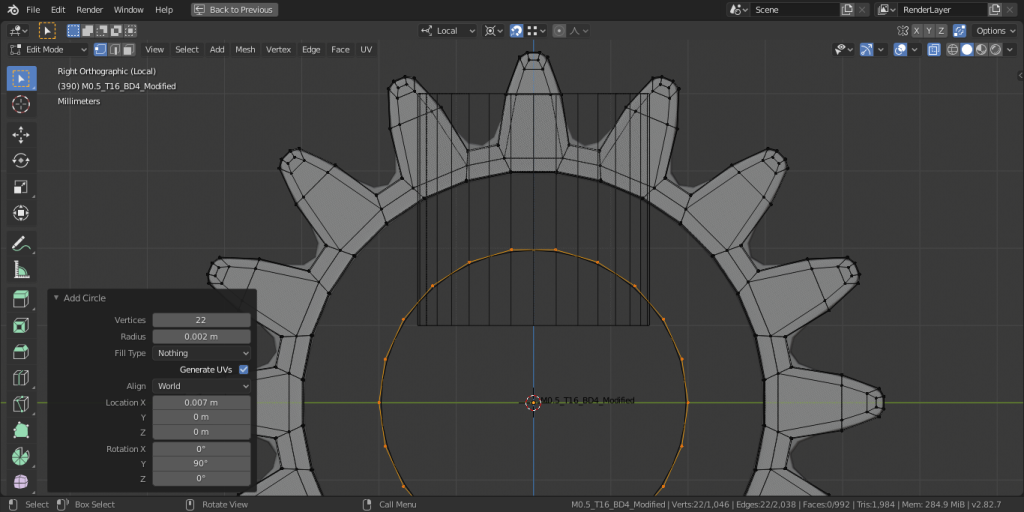
Add a circle with a radius of 2mm, rotate it, and change the number of vertices until six can fit in the reference cylinder bounds.
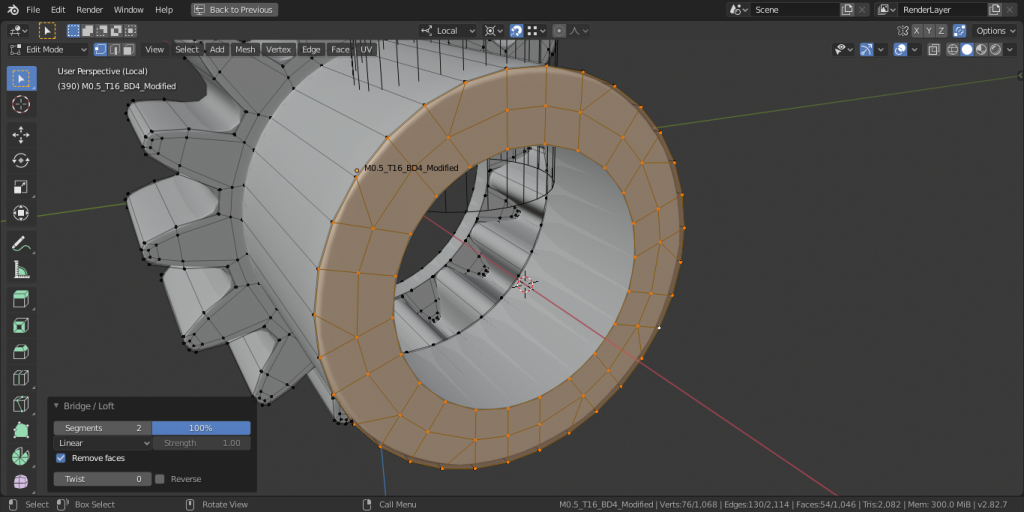
Use LoopTools to bridge the edge loops. With two segments at 100%, we can place and select edge-loops close to the inner circle. The “Linear” option makes the bridge flat as desired.

Extrude the center portion along the X-axis and snap to the circle second to the end. This will get it ready to bridge on the other side.
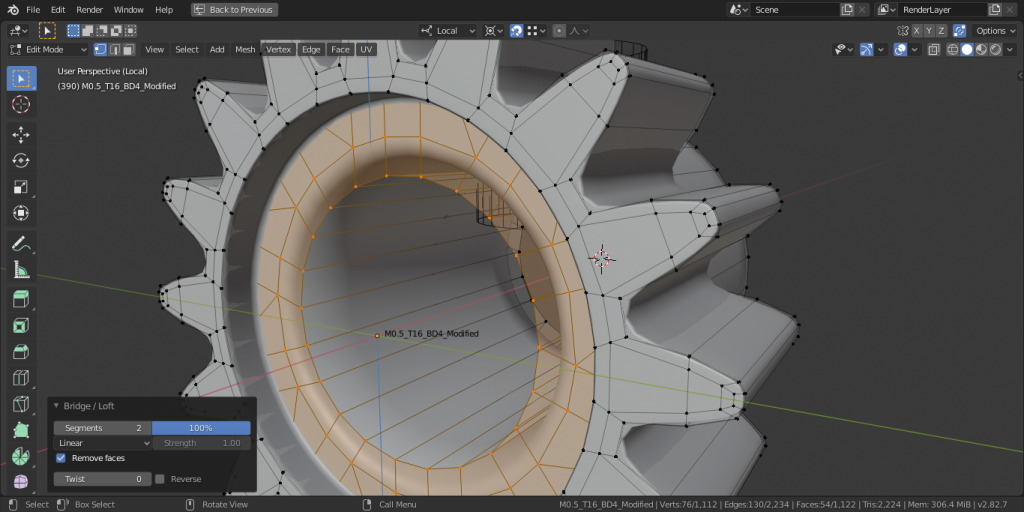
Bridge the edge-loops with LoopTools on this side.
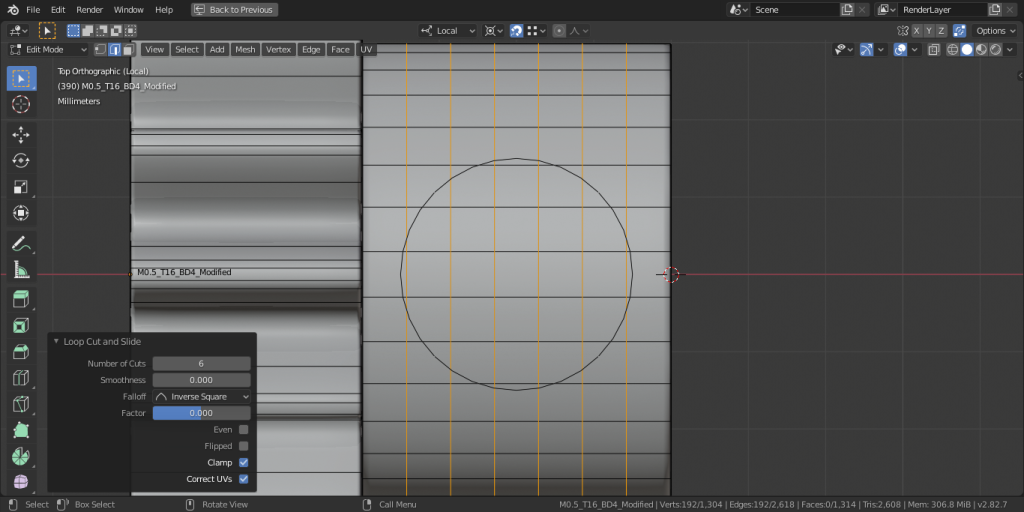
From top view, we can see that there are six edges within the bounds of the guide cylinder. Use (Ctrl+R) to add six edge-loops.
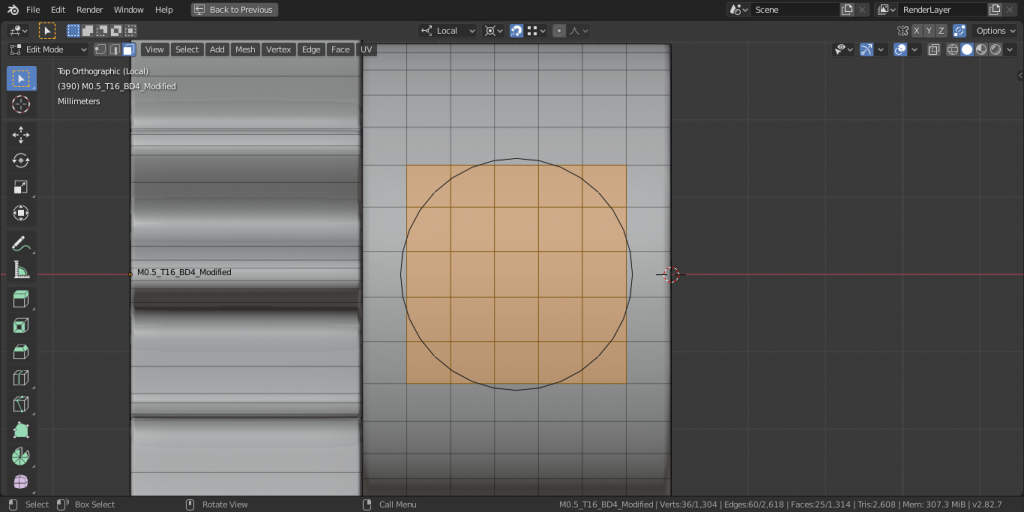
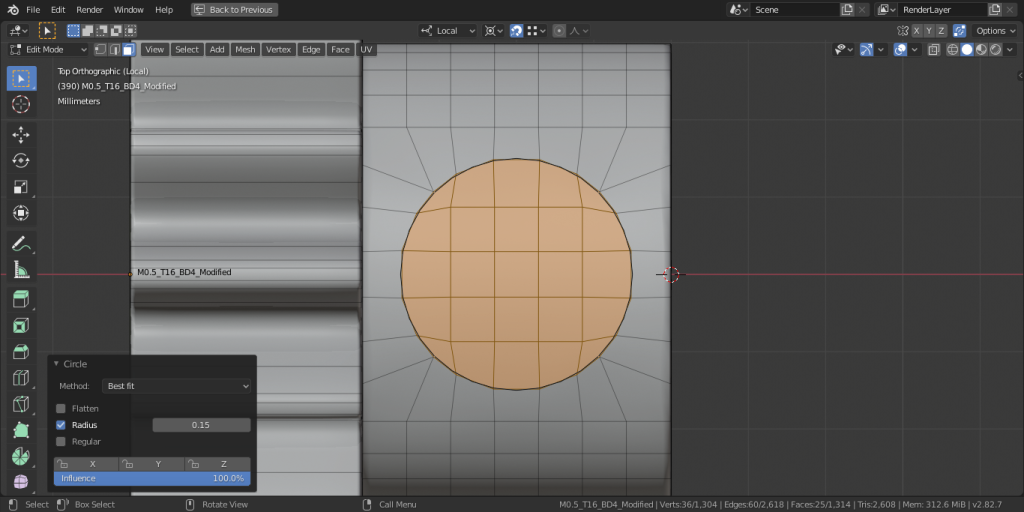
Select a rectangle of faces and use LoopTools to shape them to a circle with radius 1.5mm. It’s important to uncheck “flatten” and “regular” to have nice geometry surrounding the circle.
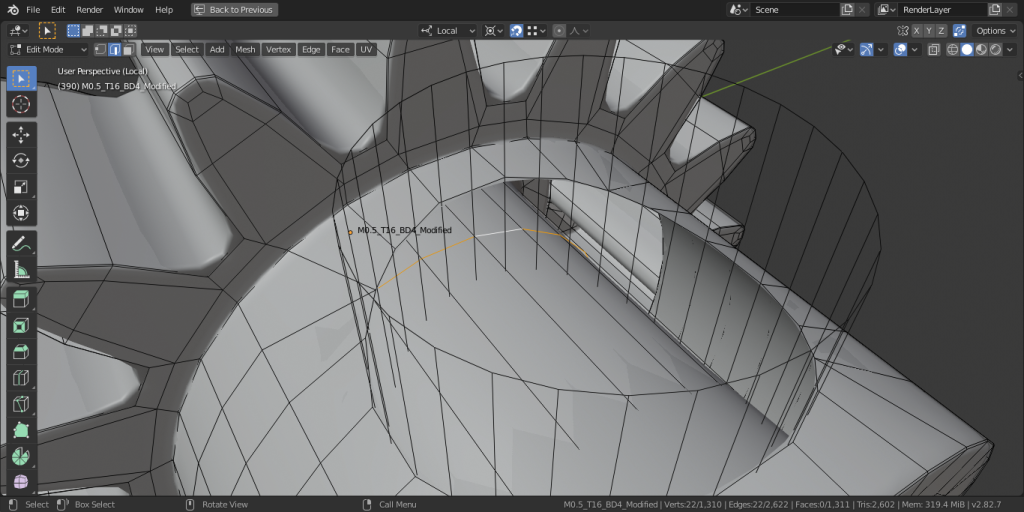
The inside faces need to be the same length as the outside faces, so portion them off using an edge-loop. Grab and move along the X-axis and snap to the face of the gear teeth.

Repeat the steps on the inside collar just the same as the outside collar. We should be left with two holes.
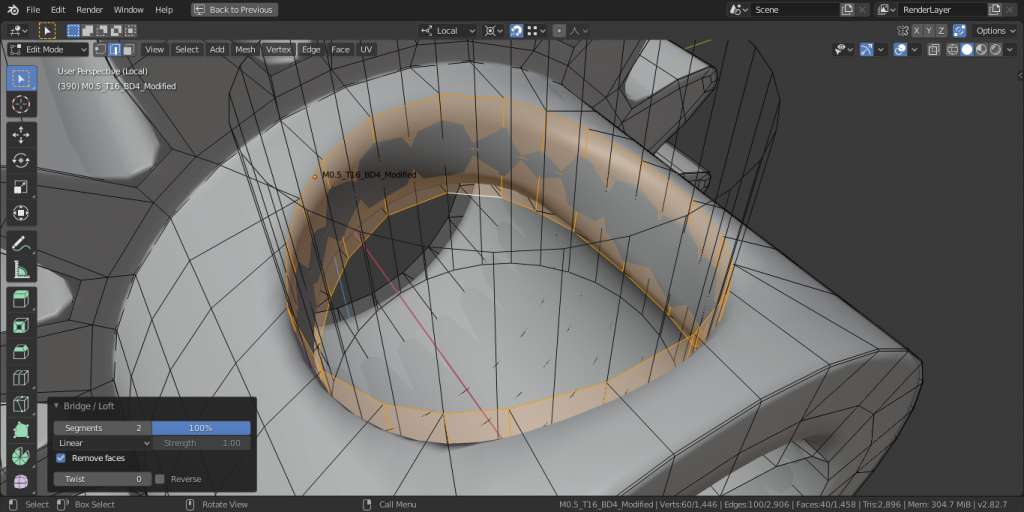
Select each edge-loop and use LoopTools to bridge them.
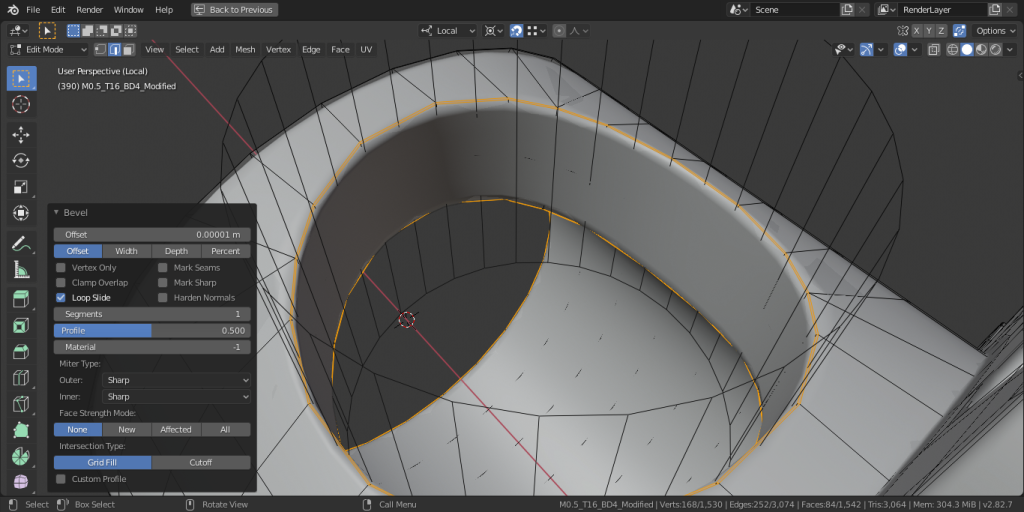
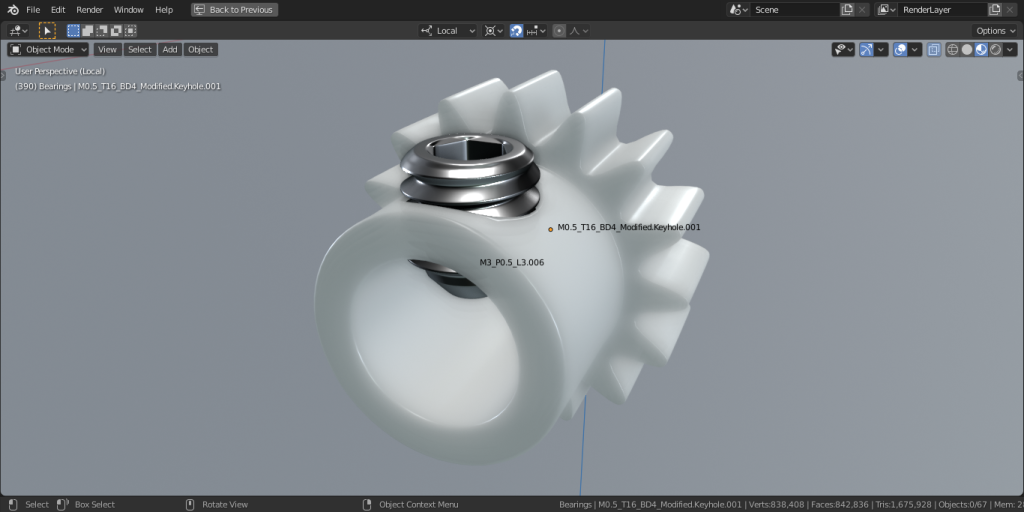
Next we can add a nice bevel to all the edges that do not have a bevel yet. Believe it or not, that’s the end!